When it comes to backyard barbecuing, few grills have achieved legendary status like the Weber Kettle. Affordable, versatile, and durable, this charcoal grill has been a favorite among pitmasters and home cooks for decades. But to truly unlock its potential, you need to master one crucial technique: two-zone grilling.
Whether you’re grilling juicy burgers, smoking ribs low and slow, or reverse-searing a thick steak, understanding how to set up two heat zones on your Weber Kettle is a game-changer. This guide will walk you through everything: setup methods, step-by-step instructions, best foods to cook, and common mistakes to avoid.
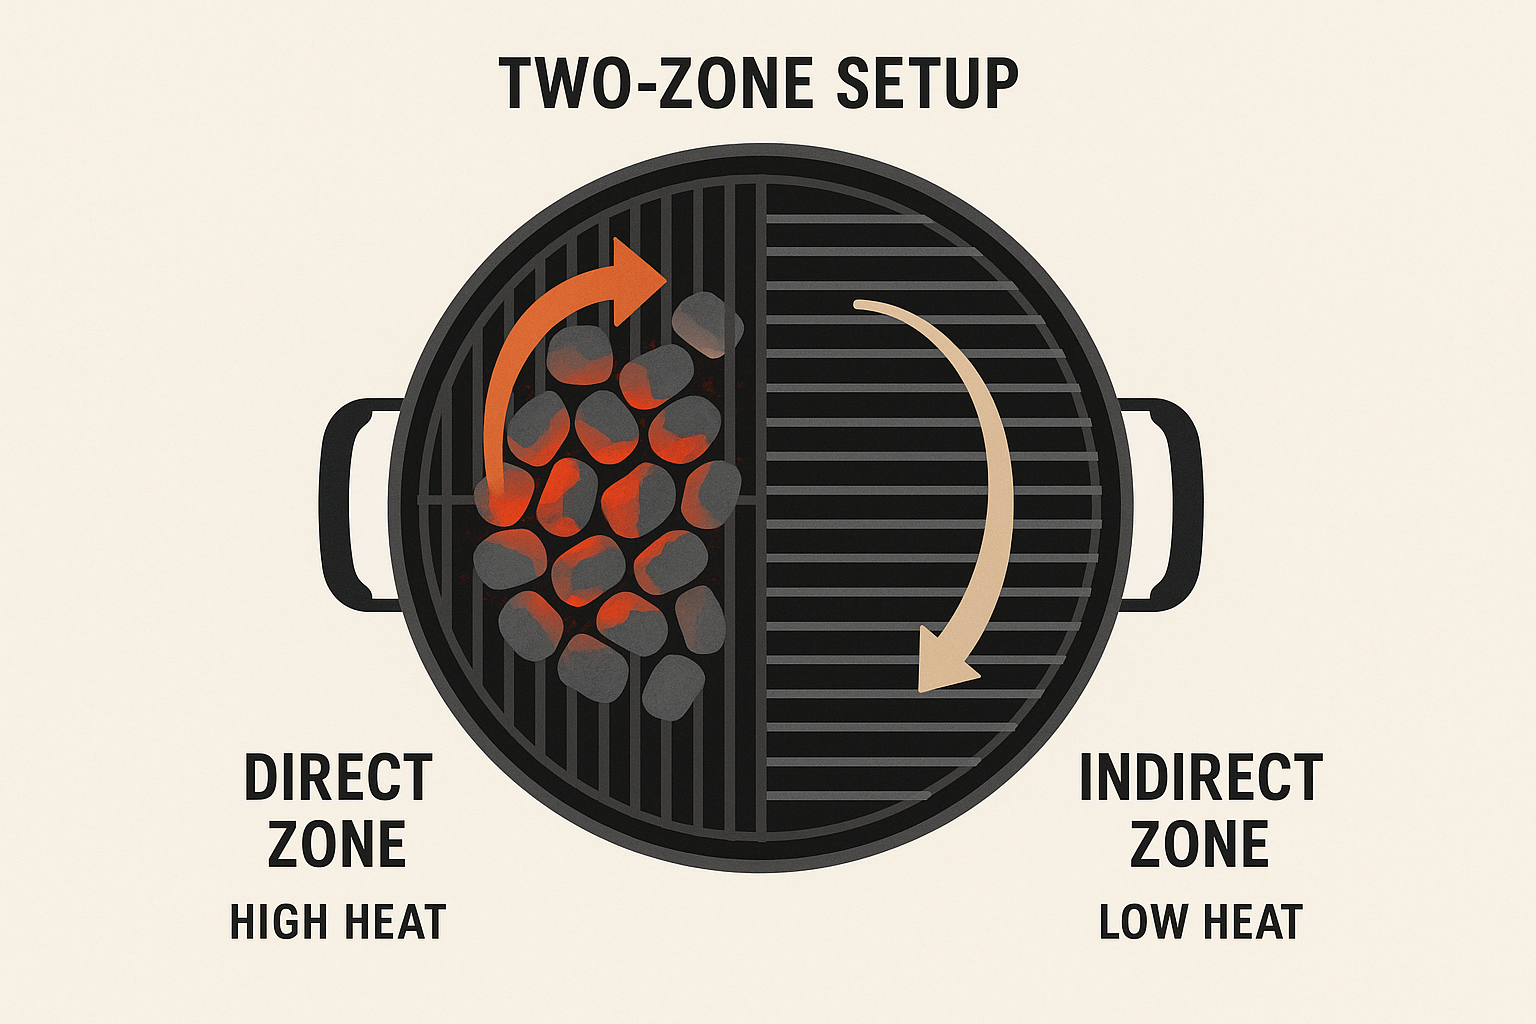
What is Two-Zone Grilling?
At its core, two-zone grilling means dividing your grill into two areas:
- Direct Heat Zone – Hot side (charcoal placed directly under the cooking grate).
- Indirect Heat Zone – Cooler side (no charcoal under the grate).
This allows you to cook food with versatility — sear over direct heat for a crispy crust, then move it to indirect heat to finish gently without burning. READ MORE
Why Use Two-Zone Grilling on a Weber Kettle?
- Temperature Control – Avoids burning food while ensuring thorough cooking.
- Flexibility – Perfect for foods needing both searing and slow cooking.
- Versatility – From steaks and chicken to ribs and pizza, two zones handle it all.
- Smarter BBQ – Reduces flare-ups, allows resting food on the grill, and creates professional results.
SEO Keywords: two-zone grilling, Weber kettle, indirect heat grilling
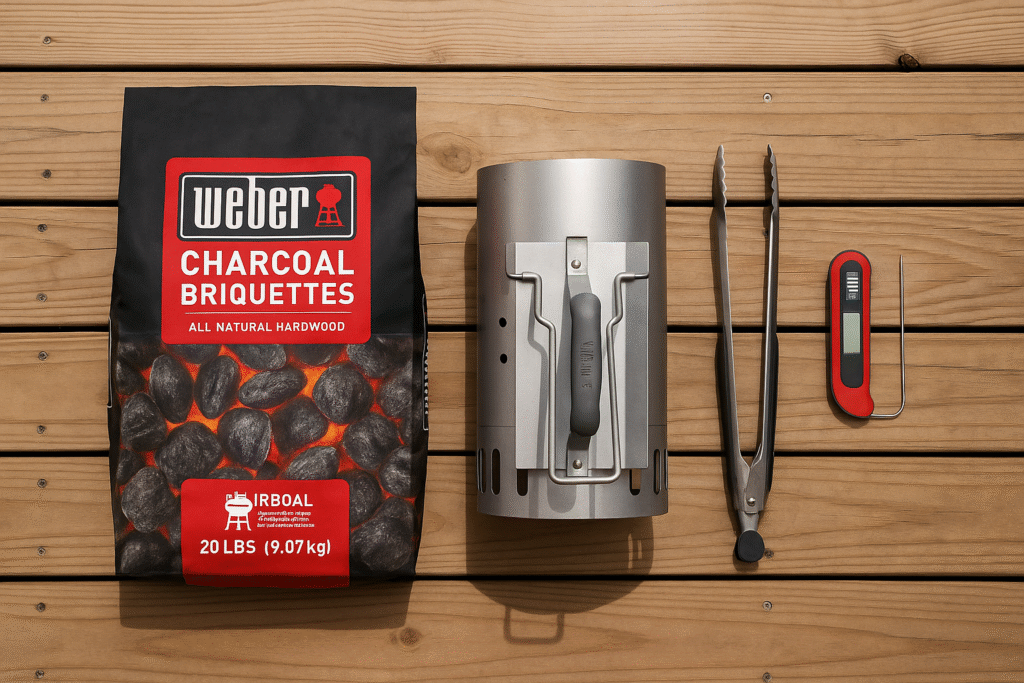
Equipment You’ll Need
- Weber Kettle grill (22-inch standard size recommended)
- Charcoal briquettes or lump charcoal
- Chimney starter (for lighting charcoal evenly)
- Grill grate
- Tongs and spatula
- Meat thermometer
- Aluminum foil (optional for easy cleanup)
Step-by-Step: How to Set Up Two-Zone Grilling on a Weber Kettle
Step 1: Light the Charcoal
Fill a chimney starter with charcoal and light it. Wait 15–20 minutes until coals are ashed over and glowing.
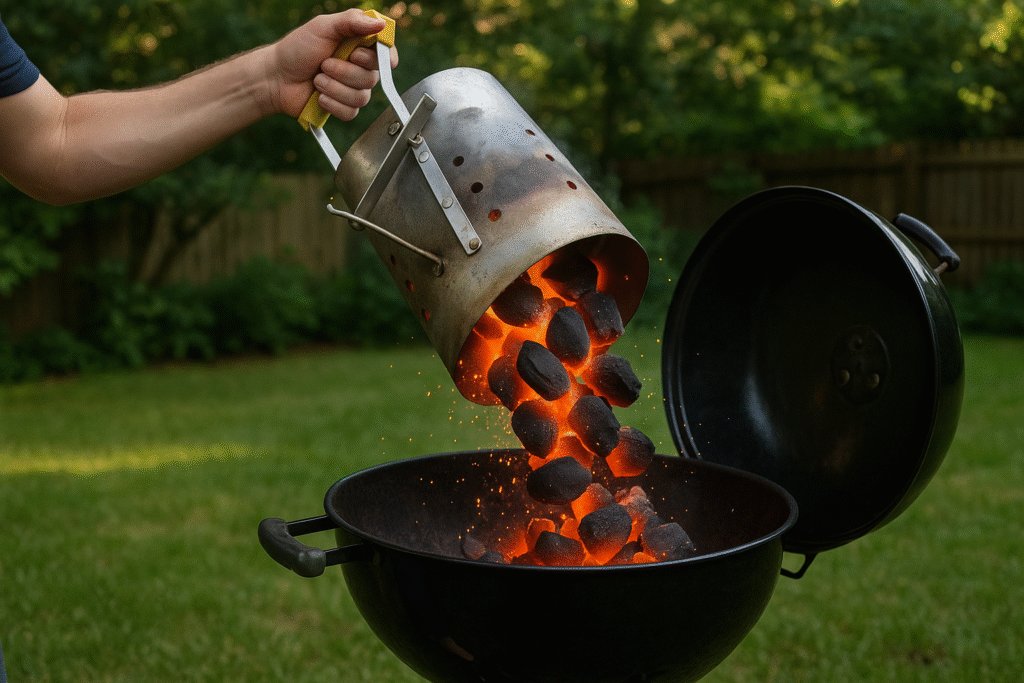
Step 2: Arrange the Charcoal
Choose your two-zone setup method (explained in detail below). The most common: pile charcoal on one half of the grill (direct zone) and leave the other side empty (indirect zone).
Step 3: Add the Grill Grate
Place the cooking grate over the charcoal. Position food directly above coals for searing, then move to the cooler side to finish.
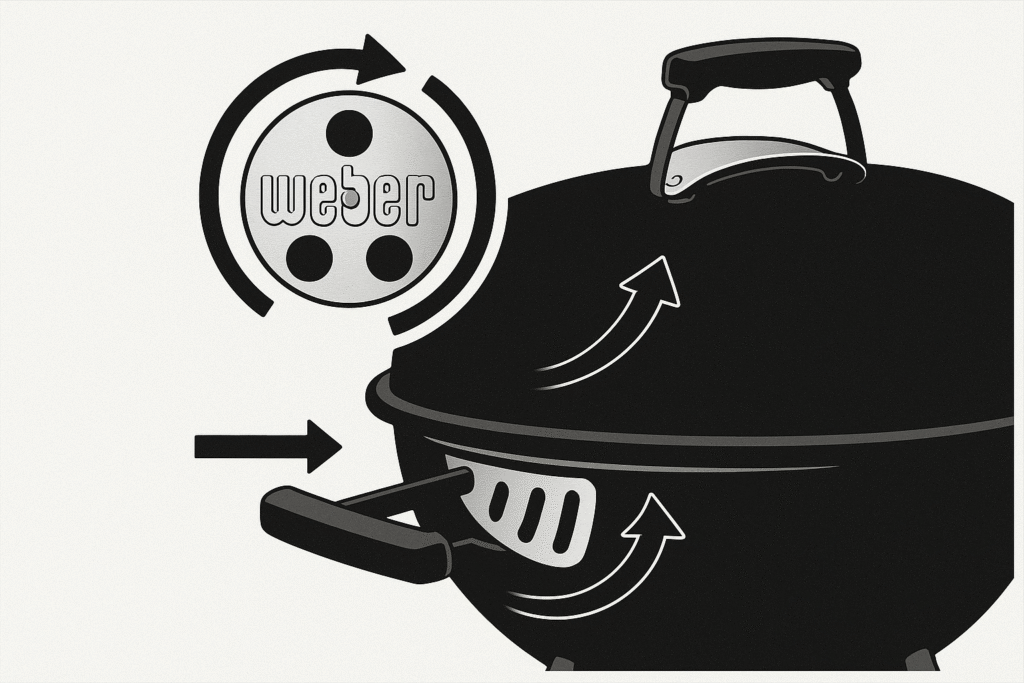
Step 4: Control the Air Vents
- Bottom vent controls oxygen flow = hotter or cooler fire.
- Top vent (lid damper) controls smoke and temperature stability.
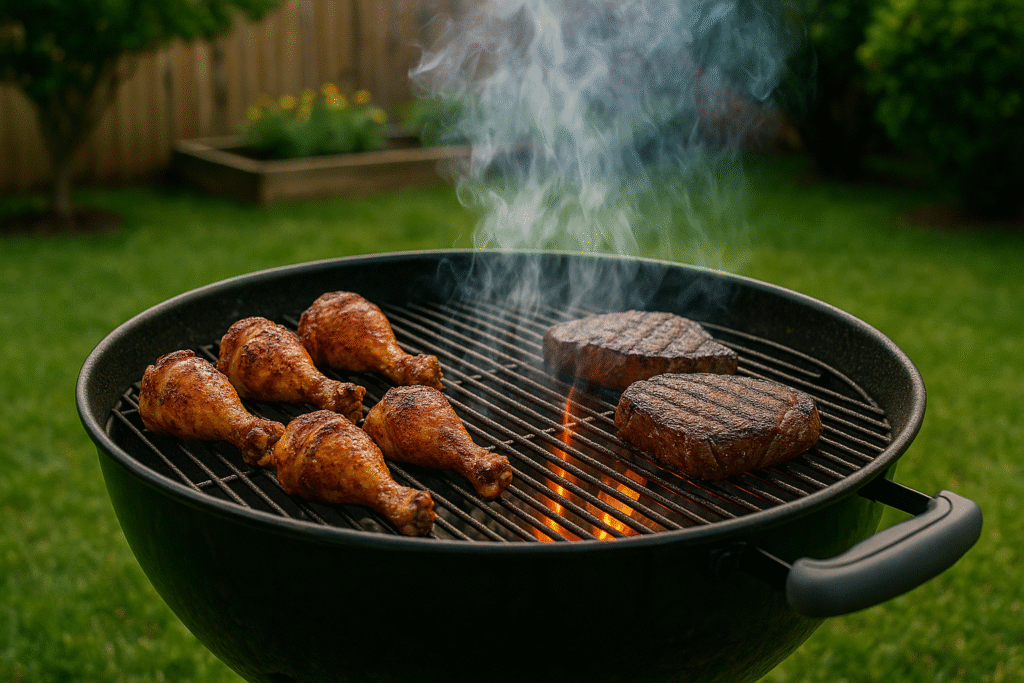
Step 5: Cook Using Two Zones
- Direct side: Sear steaks, burgers, hot dogs, and chops.
- Indirect side: Cook larger cuts like ribs, chicken, brisket, or roasts.
Methods for Two-Zone Grilling on a Weber Kettle
There are several ways to arrange your charcoal depending on what you’re cooking:
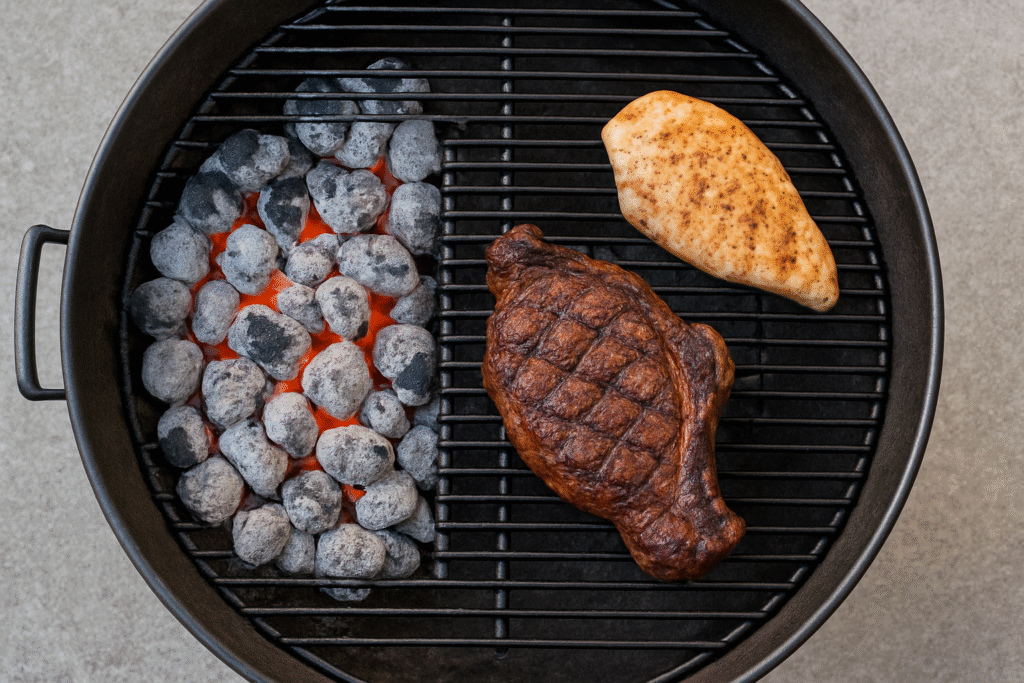
1. Classic Half-and-Half Method
- Charcoal on one side of the grill.
- Direct zone over coals, indirect zone opposite.
- Best for: steaks, burgers, chicken breasts, fish fillets.
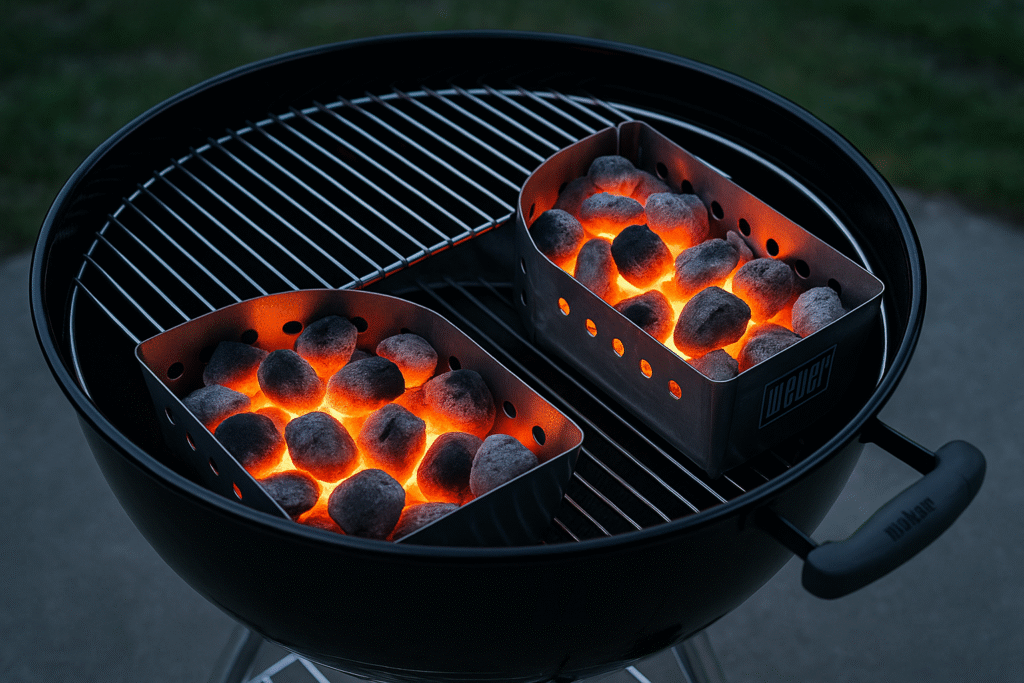
2. Charcoal Basket Method
- Use charcoal baskets (metal containers) to hold coals neatly on one side.
- Keeps heat focused and easier to manage.
- Best for: beginners, low-maintenance cooking.
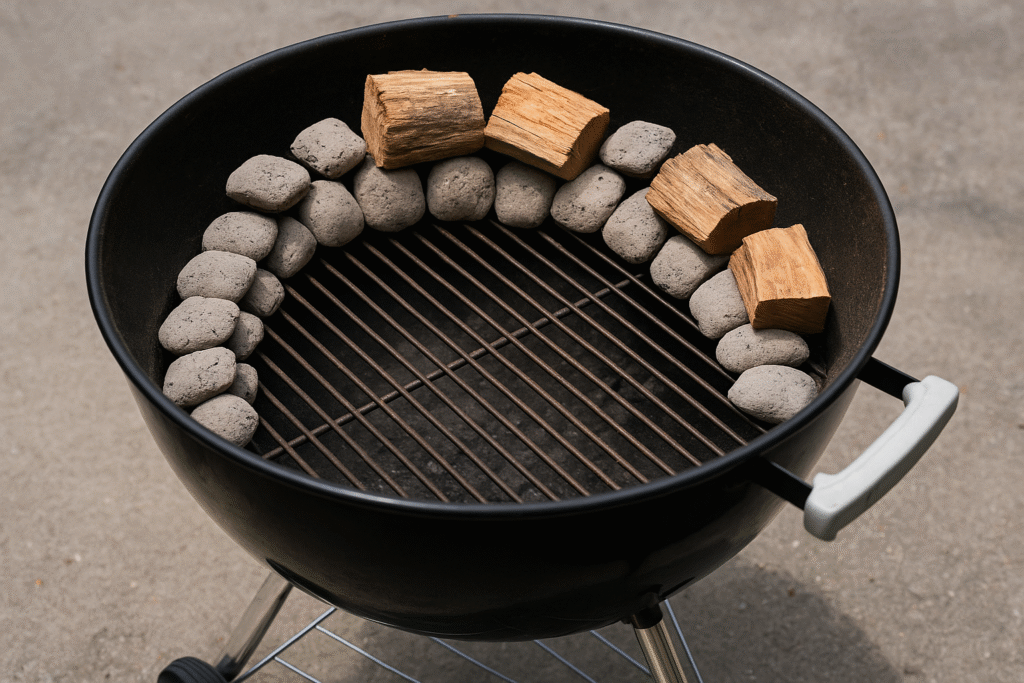
3. Snake (Minion) Method
- Arrange briquettes in a “C” or half-circle around the grill.
- Light one end; coals slowly ignite in sequence.
- Provides low, steady heat for 6–12 hours.
- Best for: ribs, brisket, pulled pork, and smoking.
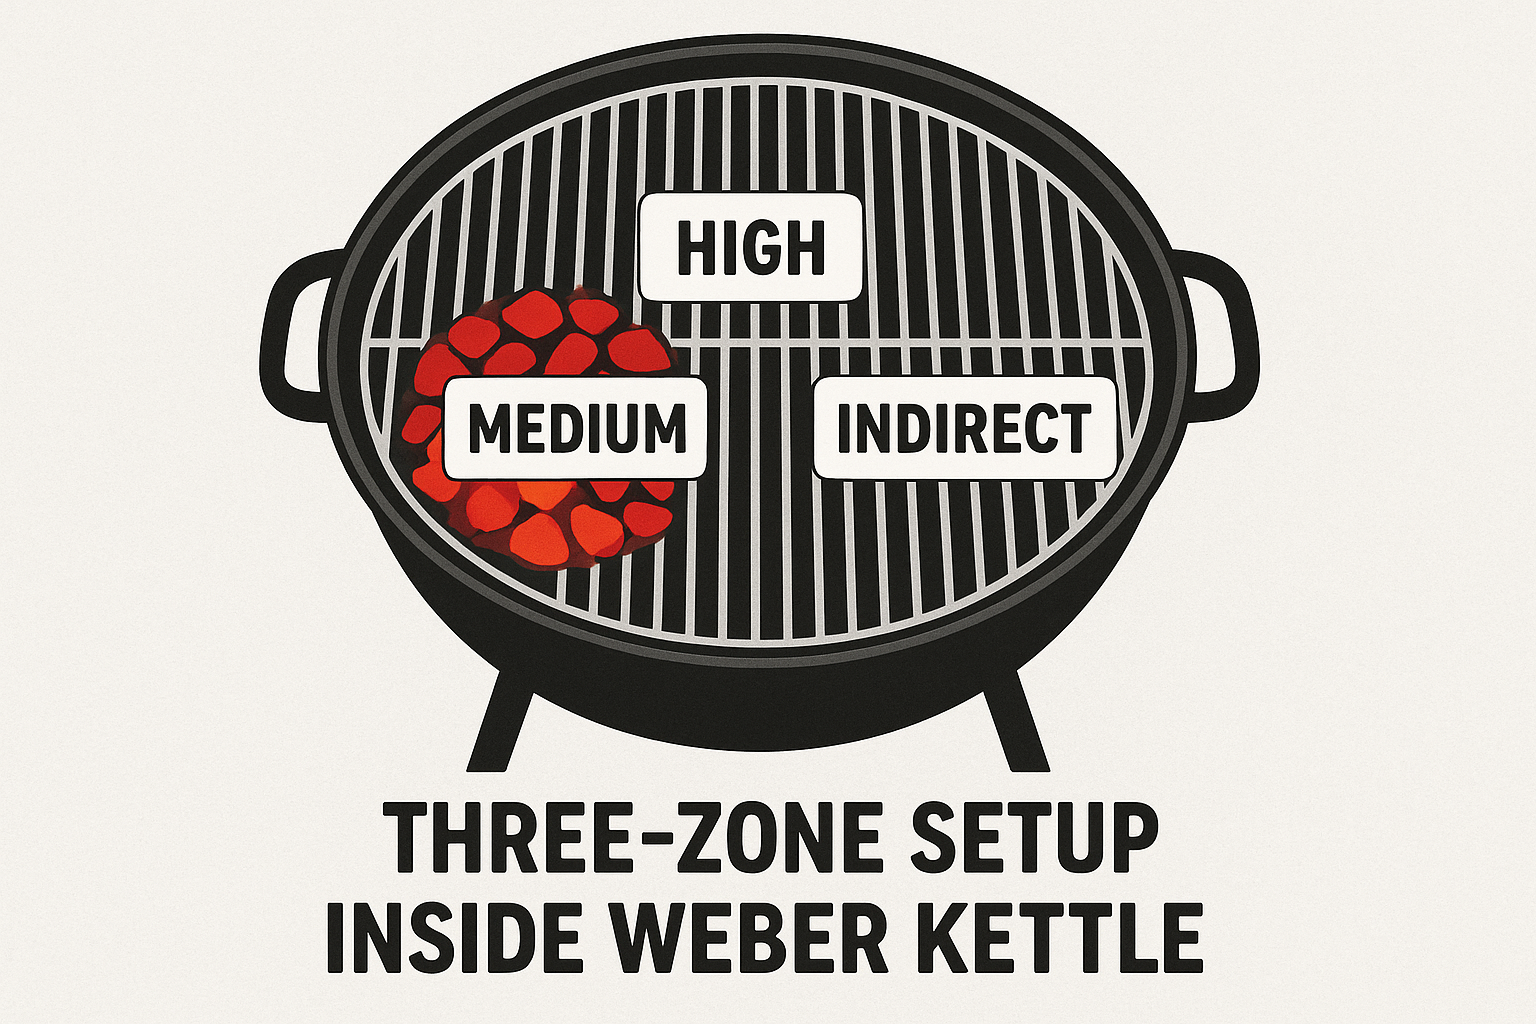
4. Three-Zone Setup (Bonus Variation)
- Coals on one side (direct high heat).
- Small number of coals in the center (medium heat).
- No coals on far side (indirect).
- Best for: complex meals with varied cooking times.
Best Foods for Two-Zone Grilling
- Direct Zone Favorites: Steaks, burgers, sausages, skewers, shrimp.
- Indirect Zone Favorites: Ribs, brisket, chicken thighs, pork shoulder, whole fish.
- Mixed Cooking: Reverse seared ribeye, smoked chicken wings, BBQ pizza.
Common Mistakes to Avoid
- Too much charcoal on both sides – ruins the indirect zone.
- Skipping preheating – causes uneven cooking.
- Not adjusting vents – airflow is key to temperature control.
- Using lighter fluid – affects flavor; chimney starter is best.
- Opening lid too often – lets out heat and smoke.
Tips for Beginners
- Always use a meat thermometer to avoid guesswork.
- Keep a safe zone for resting or rescuing food from flare-ups.
- Add wood chunks for smoky flavor.
- Start with simple foods (chicken drumsticks, burgers) before tackling brisket.
- Practice vent adjustments — airflow makes you a grill master.
FAQs on Two-Zone Grilling
1. Do I need special equipment for two-zone grilling?
No, just a Weber Kettle, charcoal, and a chimney starter. Charcoal baskets are optional.
2. Can I use two-zone grilling for smoking?
Yes, especially with the snake method. Add wood chunks for flavor.
3. How long does charcoal last in a two-zone setup?
Typically 1–2 hours for half-and-half, 6–12 hours for snake method.
4. Can I reverse sear using two-zone grilling?
Absolutely — cook indirectly until near target temp, then sear over direct heat.
5. Is two-zone grilling only for meat?
Not at all — it’s great for veggies, pizza, and even desserts like grilled peaches.
Conclusion
Two-zone grilling is the secret weapon of the Weber Kettle. It gives you precise temperature control, flexibility for different foods, and professional-quality results every time. Whether you’re searing a juicy steak, smoking ribs low and slow, or experimenting with BBQ pizza, mastering this method will elevate your backyard cooking game.
Remember: fire on one side, food on the other. Once you’ve got two zones, you’ve got endless possibilities.
So fire up that Weber, set up your two zones, and get ready to impress your guests with the art of true charcoal grilling. READ MORE